Is your garage door stuck halfway up (or down)? Don’t fret. We’re here to help! Doors often stop mid-travel for safety or mechanical reasons. Anything from a dusty sensor to weather drag or an opener setting that’s slightly off can be the culprit.
In this guide, you’ll get a safe, step-by-step checklist to find the culprit fast—starting with quick wins (power, lock mode, photo-eyes) and moving to simple homeowner checks (tracks debris, weather/ice, travel limits). You’ll also see what not to do so a small hiccup doesn’t turn into a big repair.
Important safety note: Garage door springs and cables are under high tension. Don’t adjust them yourself. If you spot slack cables, a broken spring, or the door feels heavy/uneven in manual mode, call us.
Safety First: What Not to Do
- Don’t force the door (with the opener or by hand).
- Forcing it can bend tracks, shred gears, or snap a cable and turn a small fix into a big repair.
- Don’t pull the red emergency release if the door is open or crooked.
- A disengaged, unbalanced door can free-fall. Only use the release when the door is fully closed and stable.
- Don’t loosen track, hinge, or bracket hardware.
- Misalignment is often tied to spring/cable tension. Loosening bolts can make the door jump the track.
- Don’t touch springs, cables, or drums.
- They’re under high tension and can cause severe injury without the right tools and training.
- Don’t keep “testing” the opener.
- Repeated cycles against a fault can burn out the motor, strip the drive, or bend the door.
- Don’t stand under (or let kids/pets near) a stuck door.
- Treat it like it could move suddenly and keep the area clear until it’s secured.
- Don’t use grease in the tracks.
- Greasy tracks collect grit and increase binding. (Use appropriate silicone/lithium on moving points later—never in the tracks.)
- Don’t ignore burning smells, loud bangs, or scorch marks.
- Kill power to the opener and call a pro. Those are red-flag symptoms of a failed spring, motor, or wiring issue.
Quick Checks for a Garage Door Stuck Halfway
Is the power on?
Make sure the opener is plugged in, any surge strip is on, and the GFCI (often in the garage) isn’t tripped. If needed, reset the breaker.
Wall control not in “lock/vacation” mode?
Many wall consoles disable remotes when “lock” is on. Look for a tiny lock icon/LED. Toggle it (often press-and-hold 5 seconds) to unlock.
Rule out the remote/keypad.
Try the wall button first. If that works, swap remote/keypad batteries and retry from a few feet away.
Nothing blocking the door path?
Clear brooms, bins, bike tires, cords, or ice/snow at the threshold. Even a small obstruction can trip safety and stop the door mid-travel.
Manual slide lock off?
Some doors have a slide bolt on a handle/center latch. Make sure it isn’t partially engaged.
Trolley engaged?
If the red release cord was pulled earlier, the opener may be disconnected. With the door fully closed, press the remote/wall button once and listen for the trolley to reconnect with a click.
Sensor lights quick glance.
Are both photo-eye LEDs lit? If one’s dark or blinking, jump to the next section—Photo-Eye Sensors.
Photo-Eye Sensors (Most Common Culprit)
Your garage door opener is designed to stop or reverse if the infrared beam between the two sensors is blocked or misaligned. If you have a garage door stuck halfway, start here.
Quick diagnosis
- LEDs solid on both sensors? Alignment is likely fine and you can skip ahead.
- One LED blinking/off? That side is the problem (dirty lens, misalignment, wiring, or sun glare).
- Door only closes when you hold the wall button? Classic sensor fault. The opener is overriding safety temporarily.
How to clean and clear the LED
- Wipe lenses gently with a soft, dry cloth.
- Remove obstructions near the floor line.
- Check mounting height: sensors should be ~4–6 inches above the floor and aimed straight at each other.
How to realign the sensors
- Loosen the wing nut by hand just enough to move the sensor.
- Aim directly at its mate and keep sensors level (use the track as a visual reference).
- Watch the LED: most brands show solid green/amber when aligned.
- Tighten the wing nut without bumping the sensor, then retest the door.
How to beat sun glare and vibrations
Sunlight can swamp the beam in late afternoon. Angle the receiver slightly inward or add a small sun shield (even a bit of painter’s tape/card as a test). Further, vibration from the opener can jostle alignment. Ensure brackets are snug and not bent.
Wire and connector checks (visual only, leave fixes to a pro)
- Confirm two low-voltage wires are firmly seated at each sensor and at the opener head (no copper strands loose).
- Look for nicks or staples through the wire along the wall.
- If the LED cuts in/out when you wiggle the wire lightly, it could be a loose connection. Reseat gently. If still loose, call a pro.
When to call for professional garage door repair
- You get solid alignment but the door still stops/reverses mid-close.
- After realignment, the safety reversal doesn’t work when you wave a broom or other object under the door during operation.
- LEDs won’t go solid after cleaning/realignment.
- Wires are damaged or sensors/brackets are cracked or missing.
Fixing your sensors is the fastest path to a working door. If this section resolves the blinking light and your door runs smoothly, you’ve likely found the culprit. If not, move on to the next checks or bring in a tech before parts start taking damage.
Safe Door Balance and Manual Test
- With the door fully closed, pull the red emergency release to disconnect.
- Lift by hand:
- Smooth & light? Likely an opener/setting issue.
- Heavy/jerky/uneven? You possibly have a garage door spring or cable problem. Call a pro.
- Reconnect the trolley before proceeding.
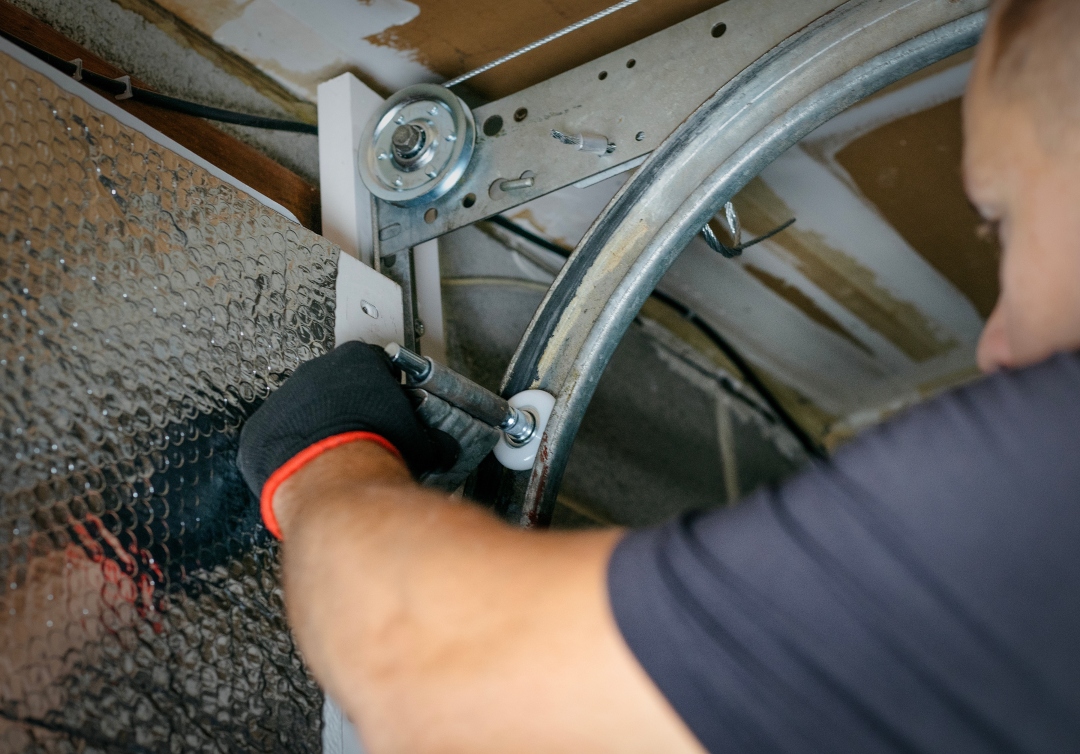
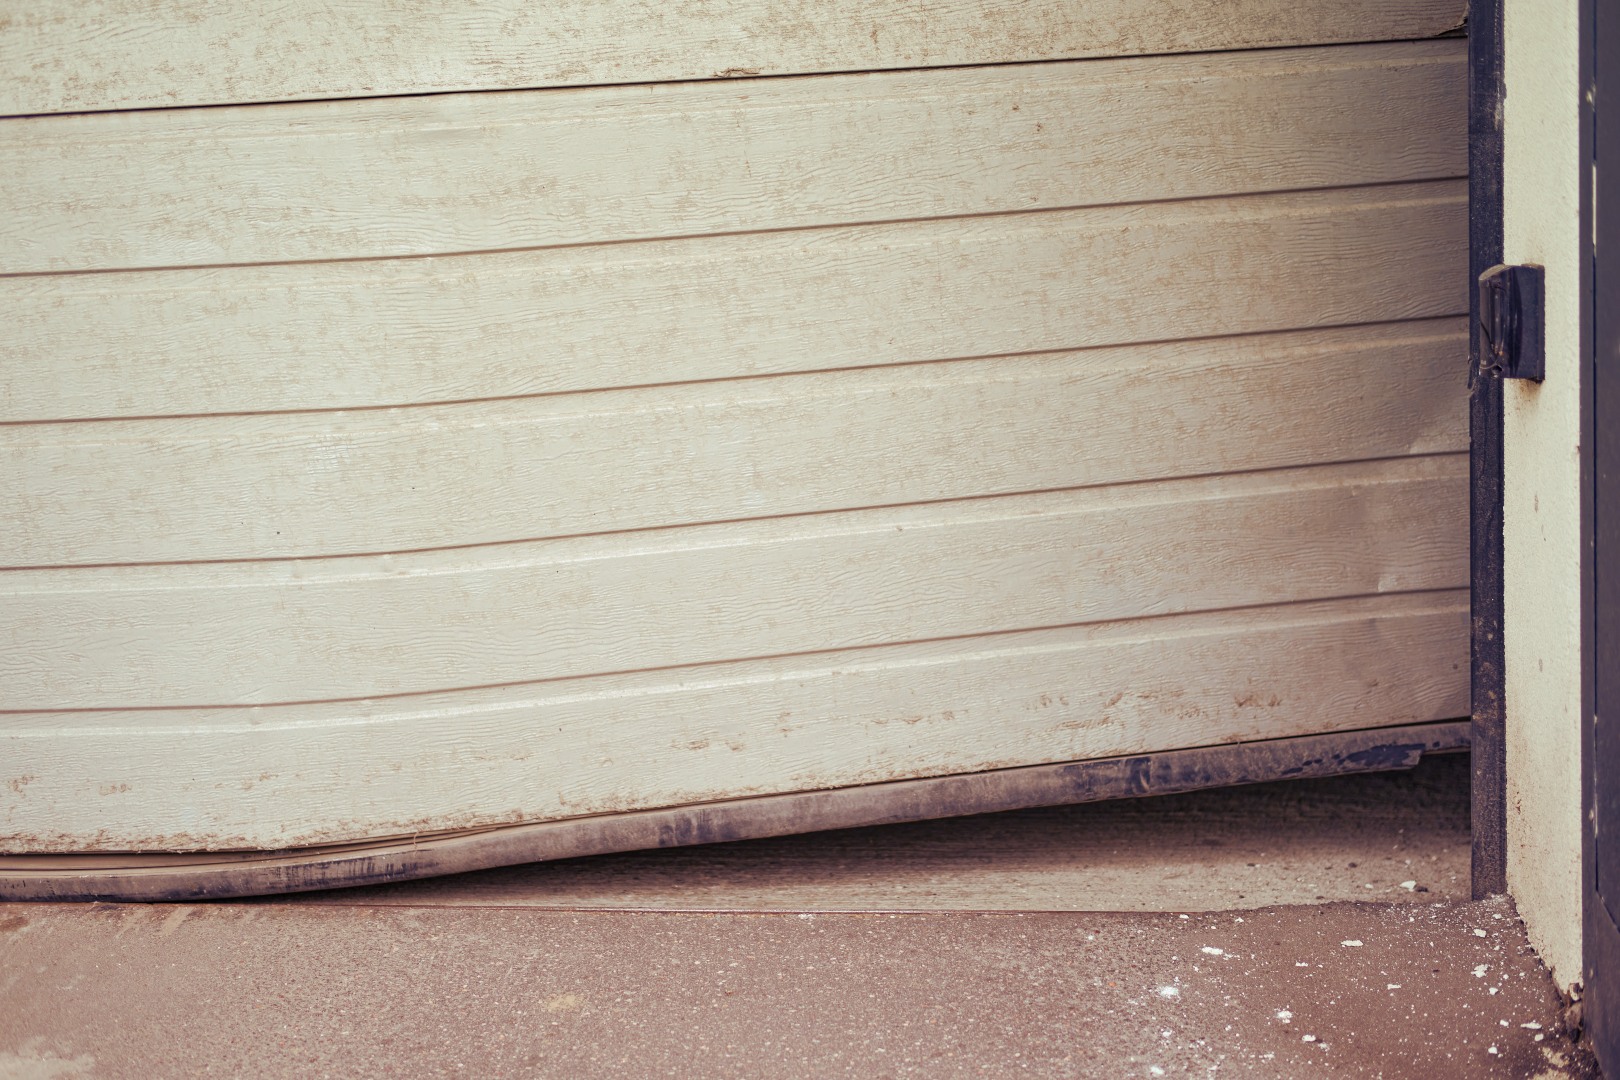
Tracks, Rollers & Hinges (Visual Check Only)
Look for debris in tracks, bent sections, popped/broken rollers, and loose hinge screws. You can vacuum debris out and gently wipe tracks but don’t bend or loosen any hardware.
If everything looks in working order, you can apply garage-door-safe silicone to the rollers (bearings only), hinges pivot points, and springs (light mist). However, do not grease tracks.
If a roller is out of the track or a track is bent, call a professional for garage door repair.
Opener Travel Limits and Force Settings
Travel limits tell the opener how far to move the door (fully open / fully closed). Force settings control how much resistance the opener will push through before it stops or reverses. Only adjust these after you’ve checked power, sensors, obstructions, and basic door balance.
When this could be a fix for a garage door stuck halfway:
- Door stops at the same spot every time (mid-open or mid-close).
- Door won’t fully open or leaves a gap at the floor.
- Door hits the floor and pops back up (reverses on close) with sensors aligned.
Before you start:
- Use a steady step ladder; keep hands clear of the rail.
- Make tiny adjustments (⅛ turn or one button tap at a time).
- Never crank up force to “power through” binding—find & fix the bind.
- Find the controls:
- On many LiftMaster/Chamberlain/Craftsman units: two travel dials/buttons (Up/Down) and two force dials (Open/Close).
- Genie and others may use set screws or electronic buttons behind a cover.
- Labels are usually on the underside or side of the opener head.
Step 1: Fix travel before force
- Door won’t open fully?
- Increase Up/Open travel slightly.
- Run a full open/close cycle; repeat in tiny increments until the door clears the opening.
- Door won’t close to the floor or leaves a gap?
- Increase Down/Close travel slightly so the door reaches the floor without crushing the seal.
- If it hits the floor then reverses, back the Down travel off a hair and re-test.
If you need a big change to make it work, something else is wrong such as binding, bent track, bad rollers. Don’t try to mask it with settings. Call a pro.
Step 2: Fine-tune force (only if needed)
- If the door reverses mid-close even after travel is correct and the tracks are clear, bump Close force slightly.
- If the door stalls mid-open with no binding, nudge Open force slightly.
- Warning: Too much force defeats safety features. Keep adjustments minimal.
Step 3: Test the safety reversal (must-do)
- Close the door, then wave a broom through the photo-eye beam—the door should reverse immediately.
- Lay a 2×4 flat under the door and close—on contact, the door must reverse (UL 325 test).
- If it doesn’t reverse, reduce force and recheck sensors. If still failing, stop using the door and call a technician.
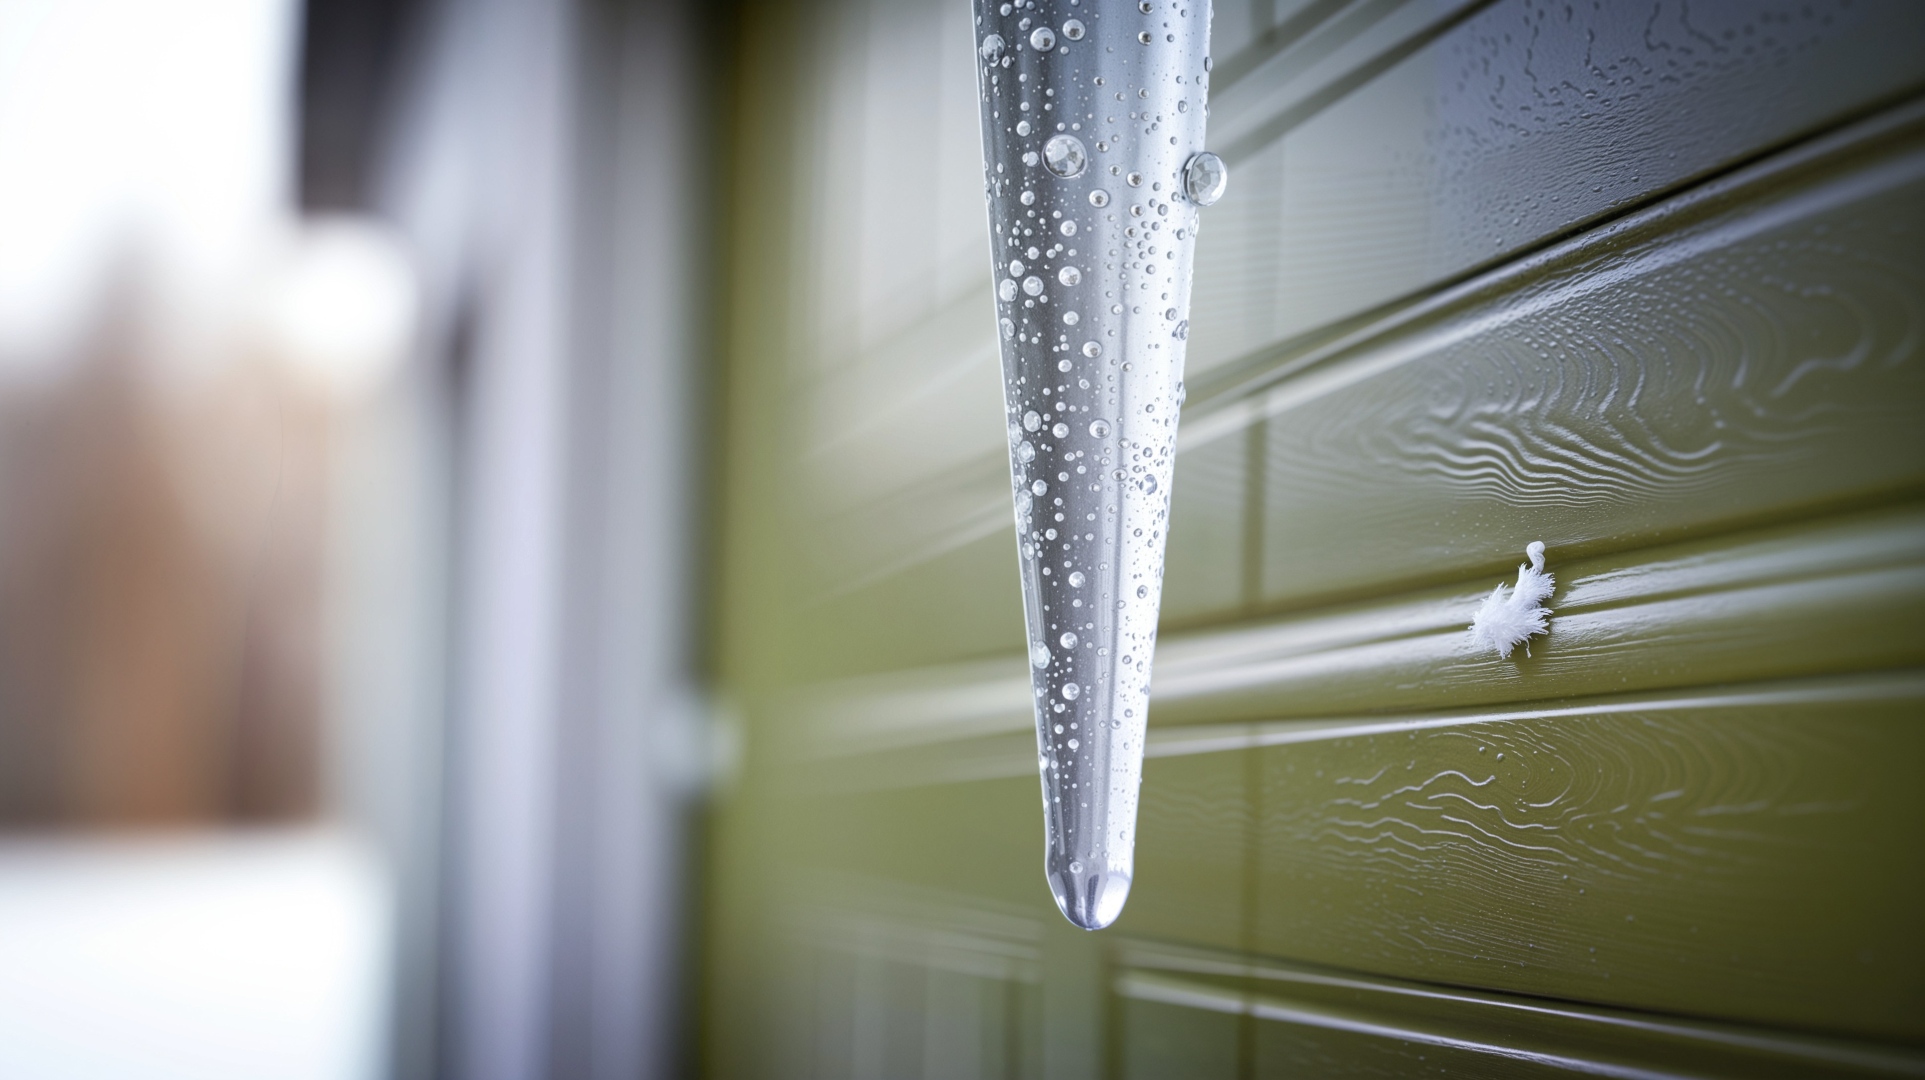
Cables, Springs and Drums (Red-Flag Items)
These parts carry the door’s full weight under high tension. If something here is off, stop troubleshooting and call a professional garage door technician. Trying to fix them without the right tools or training can cause severe injury and major damage.
How to spot these red flags:
- Visible gap in a torsion spring (above the door) or a spring hanging loose.
- Extension spring (along the horizontal tracks) that’s stretched, crooked, or missing a safety cable through the center.
- Slack, frayed, or bird-nested lift cables near the bottom brackets or wrapped messily on the drums.
- Door looks crooked/tilted in the opening, or one side rises/falls faster than the other.
- A sudden, loud “bang” from the garage (often a spring break).
- Bent top panel or crushed stile after a hard stop/reversal.
- Cable off the drum after the door hit an obstruction or froze to the floor.
What not to do:
- Do not pull the red emergency release if the door is open or crooked. A garage door stuck halfway can free-fall.
- Do not loosen set screws on drums, center bearing plates, or spring cones.
- Do not attempt to rewind springs, re-string cables, or bend tracks back.
- Do not keep “testing” the opener. Every cycle can worsen the tangle or bend panels.
Make the area safe until help arrives
Unplug the garage door opener so no one accidentally cycles it. Keep kids, pets, and vehicles clear of the door and tracks. If the door is open and looks unstable, stay out from under it and wait for a technician. Don’t try to prop it with ladders or DIY braces.
Opener Type Issues (Chain/Belt/Screw/Direct-Drive)
Not all garage door openers fail the same way. Use these model-specific checks that require no disassembly.
Chain-Drive (common, louder)
What to look/listen for:
- Sagging chain hitting the rail or a rhythmic clatter.
- Plastic sprocket cap on top of the motor head throwing black shavings (gear wear).
- Jolty starts/stops even when the door feels balanced by hand.
Safe homeowner checks:
- With power off, inspect chain slack midway along the rail. A little droop is normal; a “jump rope” sag isn’t.
- Look at the drive sprocket on top—if it wobbles or leans, it’s wearing out.
- Ensure the header bracket (above the door) and rail bolts are tight.
Do’s and Don’ts:
- Do tighten the chain only if the manual allows—small turns, don’t over-tension.
- Don’t run it if the chain is slapping the rail or the sprocket leans—this escalates damage fast.
Call a pro if the chain keeps stretching, sprocket/gear kit is shedding plastic, or the unit grinds under light load.
Belt-Drive (quieter, common in newer units)
What to look/listen for:
- Belt flutter or thump mid-rail; slip squeak on start.
- Belt teeth polished smooth near the trolley; cracked belt near the splice.
Safe homeowner checks:
- Check the belt tensioner at the trolley (often a spring/bolt). The belt should be snug—no bounce.
- Verify the idler pulley at the door end spins freely; no side-to-side wobble.
Do’s and Don’ts:
- Do make tiny tension adjustments per the label on the rail.
- Don’t overtighten—too tight stresses motor bearings and rail.
Call a pro if the belt frays/cracks, idler pulley wobbles, or tension won’t hold.
Screw-Drive (older Genie style, single threaded rod)
What to look/listen for:
- Cold-weather stalling (thickened grease), chattering at the same spot, or a harsh ratcheting sound.
- Dry, shiny screw with no visible lube. Or the opposite: gummed-up grease that looks tar-like.
Safe homeowner checks:
- Wipe the exposed screw with a rag; apply manufacturer-approved screw-drive lube in a thin line, then run one full cycle to distribute.
- Inspect the carriage (trolley) for cracks where it grips the screw.
Do’s and Don’ts:
- Do re-lube seasonally—especially before winter.
- Don’t use random grease; wrong viscosity can cause binding and board overload.
Call a pro if it still stalls after correct lube, the carriage is cracked, or the motor surges/clicks off (limit board/cap issues).
Direct-Drive/Wall-Mount (jackshaft, side-mounted)
What to look/listen for:
- Opener hums but the door doesn’t move (often door imbalance or travel not learned).
- Intermittent over-torque trips when lifting (DC motor protection).
Safe homeowner checks:
- Confirm the torsion shaft coupler is tight (visual only—don’t loosen set screws).
- Clear the safety lock on the door (manual slide lock off).
- Run the travel learn/calibration cycle if the model requires it after a power loss.
Do’s and Don’ts:
- Do ensure the door is well-balanced by hand (with opener disconnected and door fully closed before release).
- Don’t increase torque settings to “muscle” a heavy door. Fix the balance issue.
Call a pro if the unit trips torque repeatedly, shaft looks to “walk” side-to-side, or you see cable/spring red flags.
Shared Failure Points (all types)
- Trolley wear: If the opener runs but the trolley slips, the carriage may be stripped.
- Limit switches/encoders: Re-learn travel after outages; faulty sensors cause mid-stops.
- Capacitor (AC motors): Weak start, loud hum, no lift—common on older units.
- Overheat protection: Frequent stalls will cause the motor to get hot; If it recovers after a few minutes, that’s a signal of binding or motor fatigue.
If the door lifts smoothly by hand (disconnected, fully closed before release) but the opener struggles or stops, you likely have an opener drive/settings issue. If the door feels heavy, jerky, or crooked, the problem is mechanical (door side) you need to call a pro.
Preventive Maintenance (Save the Next Headache)
A little routine care keeps your door quiet, balanced, and safe—and prevents the issue of a garage door stuck halfway. Most of this takes 10–15 minutes with a step stool and garage door safe spray lube.
- Quarterly: wipe sensors, tighten visible hinge screws, check weatherstrip, lube moving points.
- Annually: professional tune-up—spring balance, cable condition, track alignment, opener settings.
- Operate door fully open/closed before driving to avoid clipping a rising door with your vehicle.
The great news is, you can save on your annual tune-up and any repairs needed by signing up for our Garage Door Guy Membership Plan!
Conclusion
A garage door stuck halfway is your system asking for attention. Sometimes it’s a simple sensor or travel setting. Sometimes it’s a safety-critical spring or cable. Work through the safe checks above; if the door is heavy, uneven, or keeps stalling, book a professional repair or tune-up to prevent bigger (and costlier) damage.